Adding an additional bench to a VS30 Sprinter 144 Crew Cab.
The ‘Crew’ configuration is our favorite for Sprinter vans. This configuration if you’re not familiar with it has the two front seats and just one row with a three seat bench and then the rest of the van is available for cargo space. This allows for you to carry your family and throw all your stuff in the back, whether it be motorcycles, camping gear or our favorite,, a platform for a bed. But what if you wanted to have two benches for carrying extra people? Or even better yet allowing for a single bench to be moved further back to allow for a galley when needed.?

It’s the mullet of Sprinters
Business up front and a party in the back!
One option is to buy a passenger van and remove the benches that you don’t need and this will give you all the adjustability with the included C tracks. One of the largest differences between a crew cab and a passenger configuration is that the crew cab only has windows in the middle of the van while a passenger configuration has windows all the way towards the back. Many, including us, like the privacy and security of not having windows towards the back of the van. So that leaves us with adding additional tracks to the crew configuration.

But where do you start with adding additional tracks to your sprinter van? There are many aftermarket options for custom seating but here we’re going to focus on using the OEM Mercedes tracks and bench seats.
There’s a similar process to the NVC3 van with the main difference being the track design and matching benches. In this write up we will be focusing on the 2019+ vans (VS30) 144 Crew Cab.
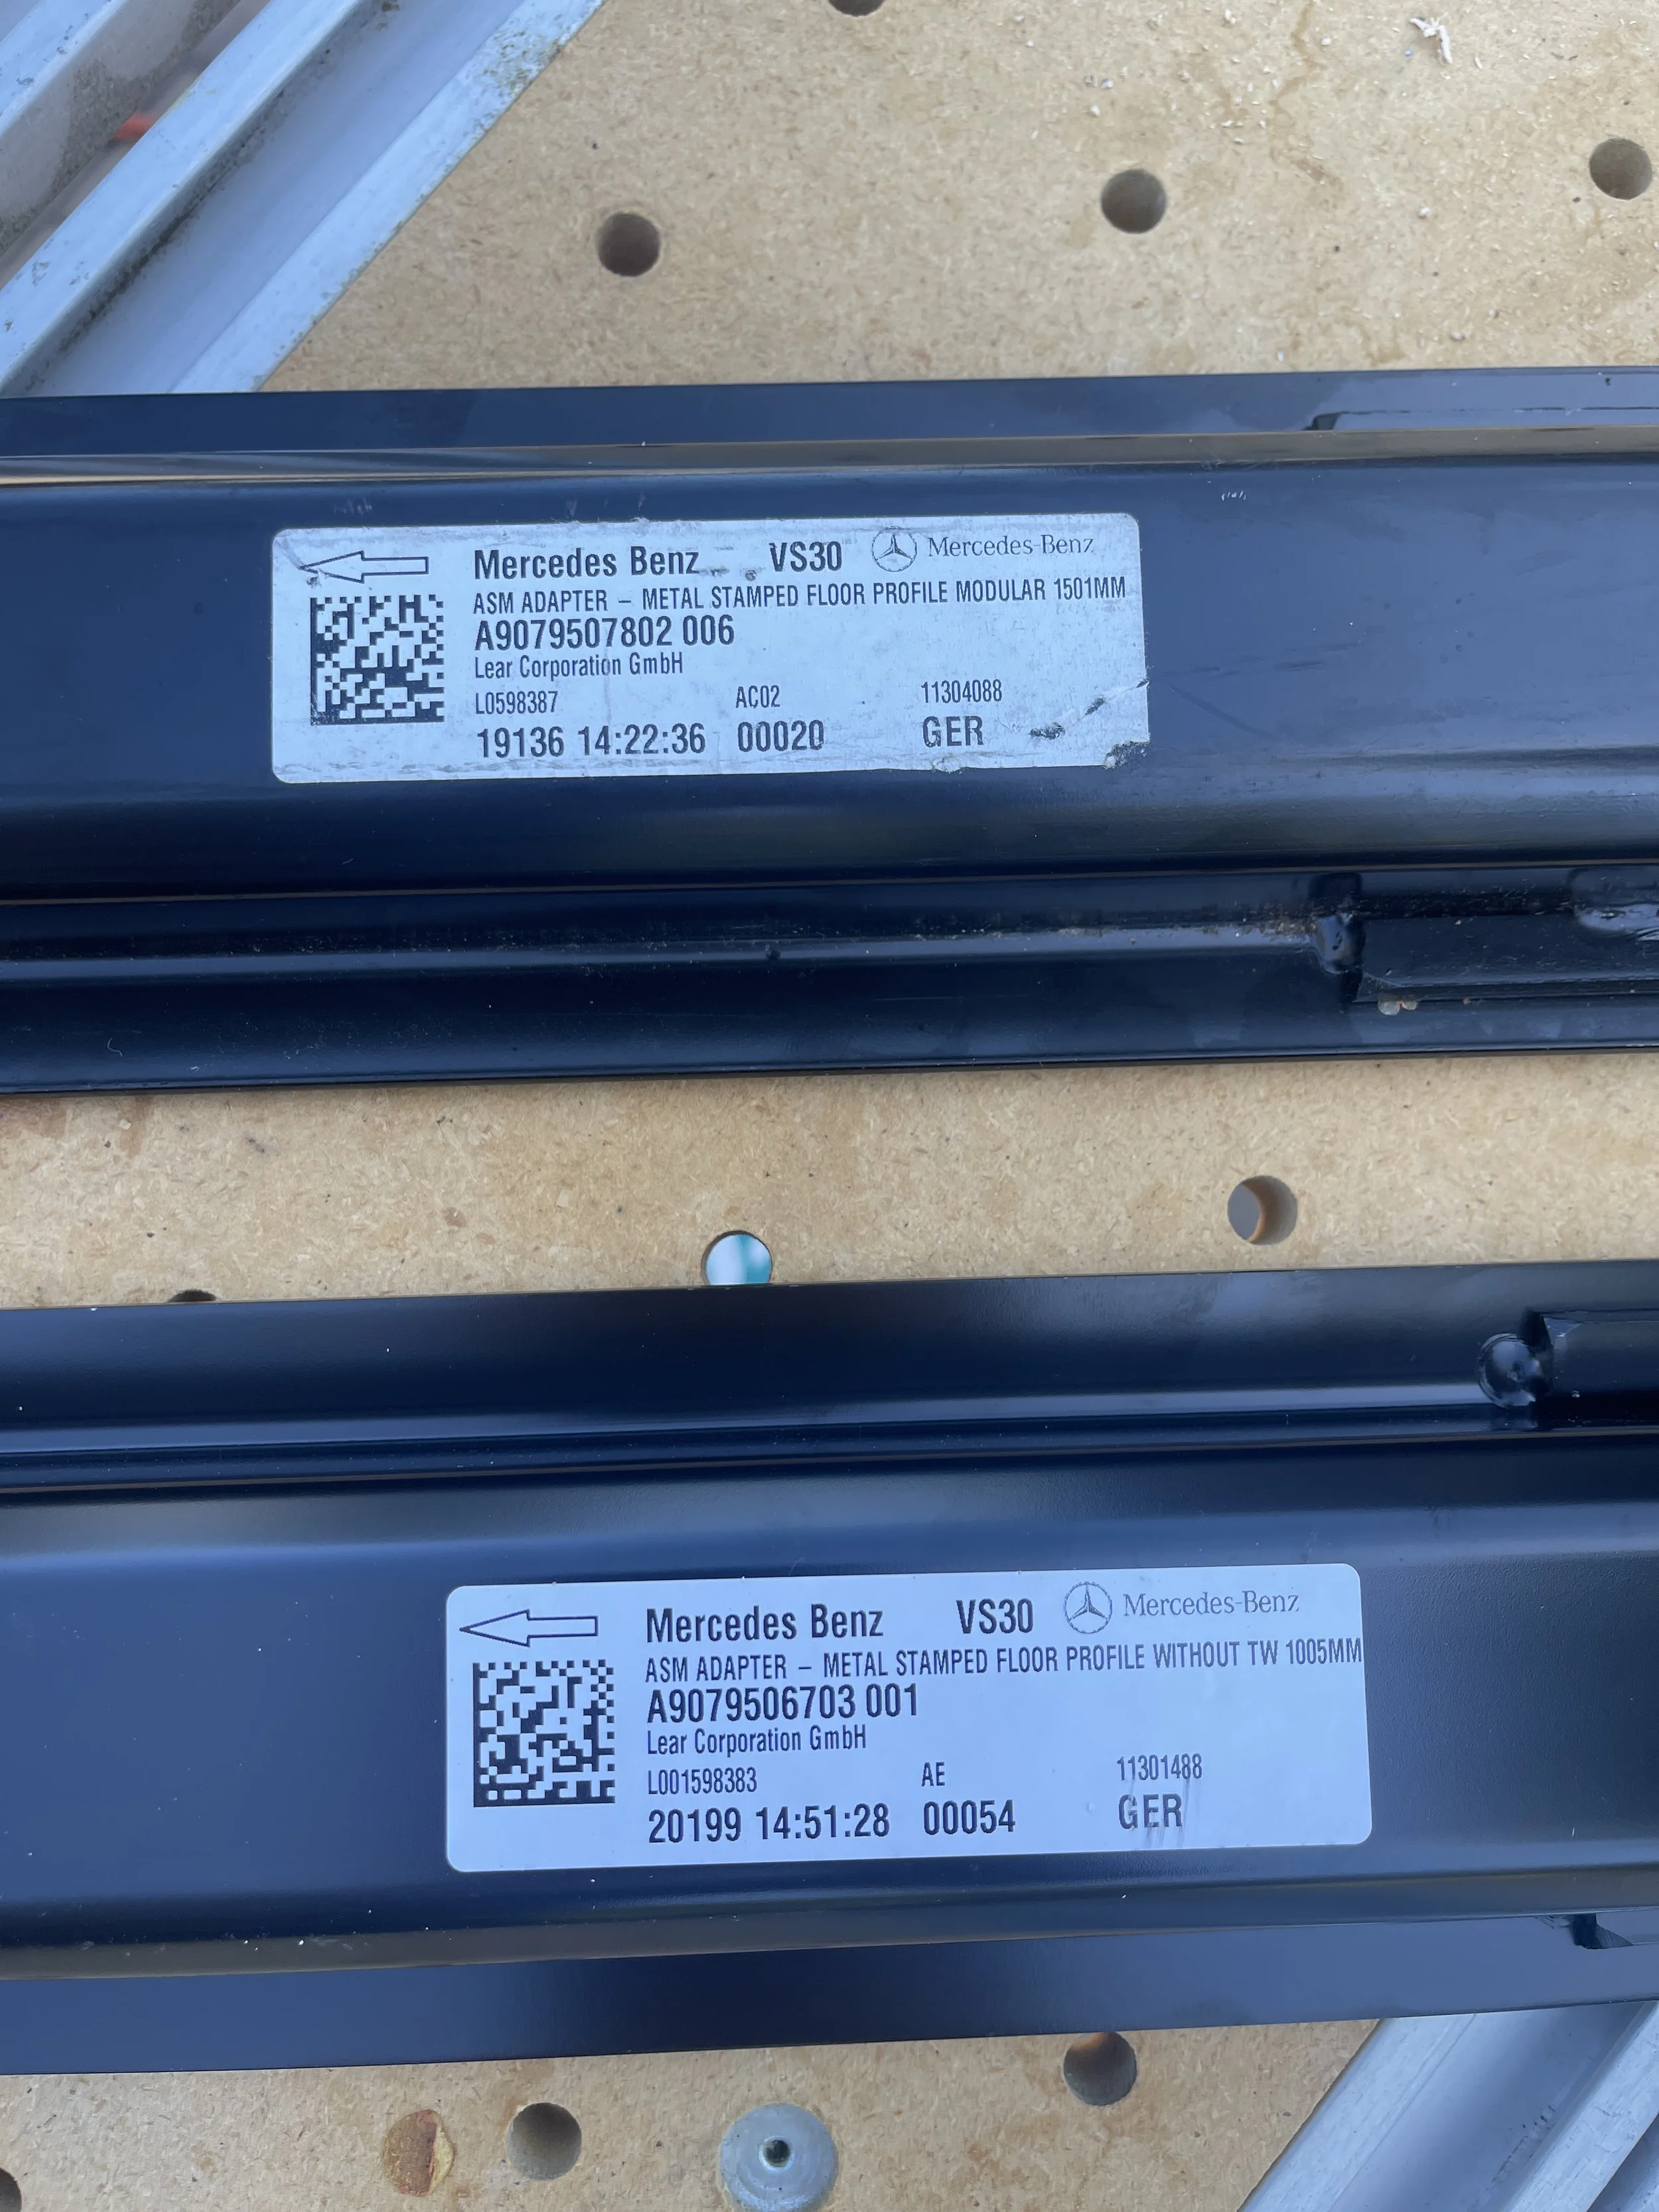
Before you start, you’ll need to buy a few things. First are the tracks. Unlike the NVC3 which use the same tracks for all positions, the VS30 has different length tracks depending on the configuration. With the crew cab you get 3 short tracks to support only a single row or one bench. (Part number A9079506703 001 )
If you want to add a second row you’ll need the longer (double) tracks, three of them, from a passenger van. (Part number A9079507802 006 ).
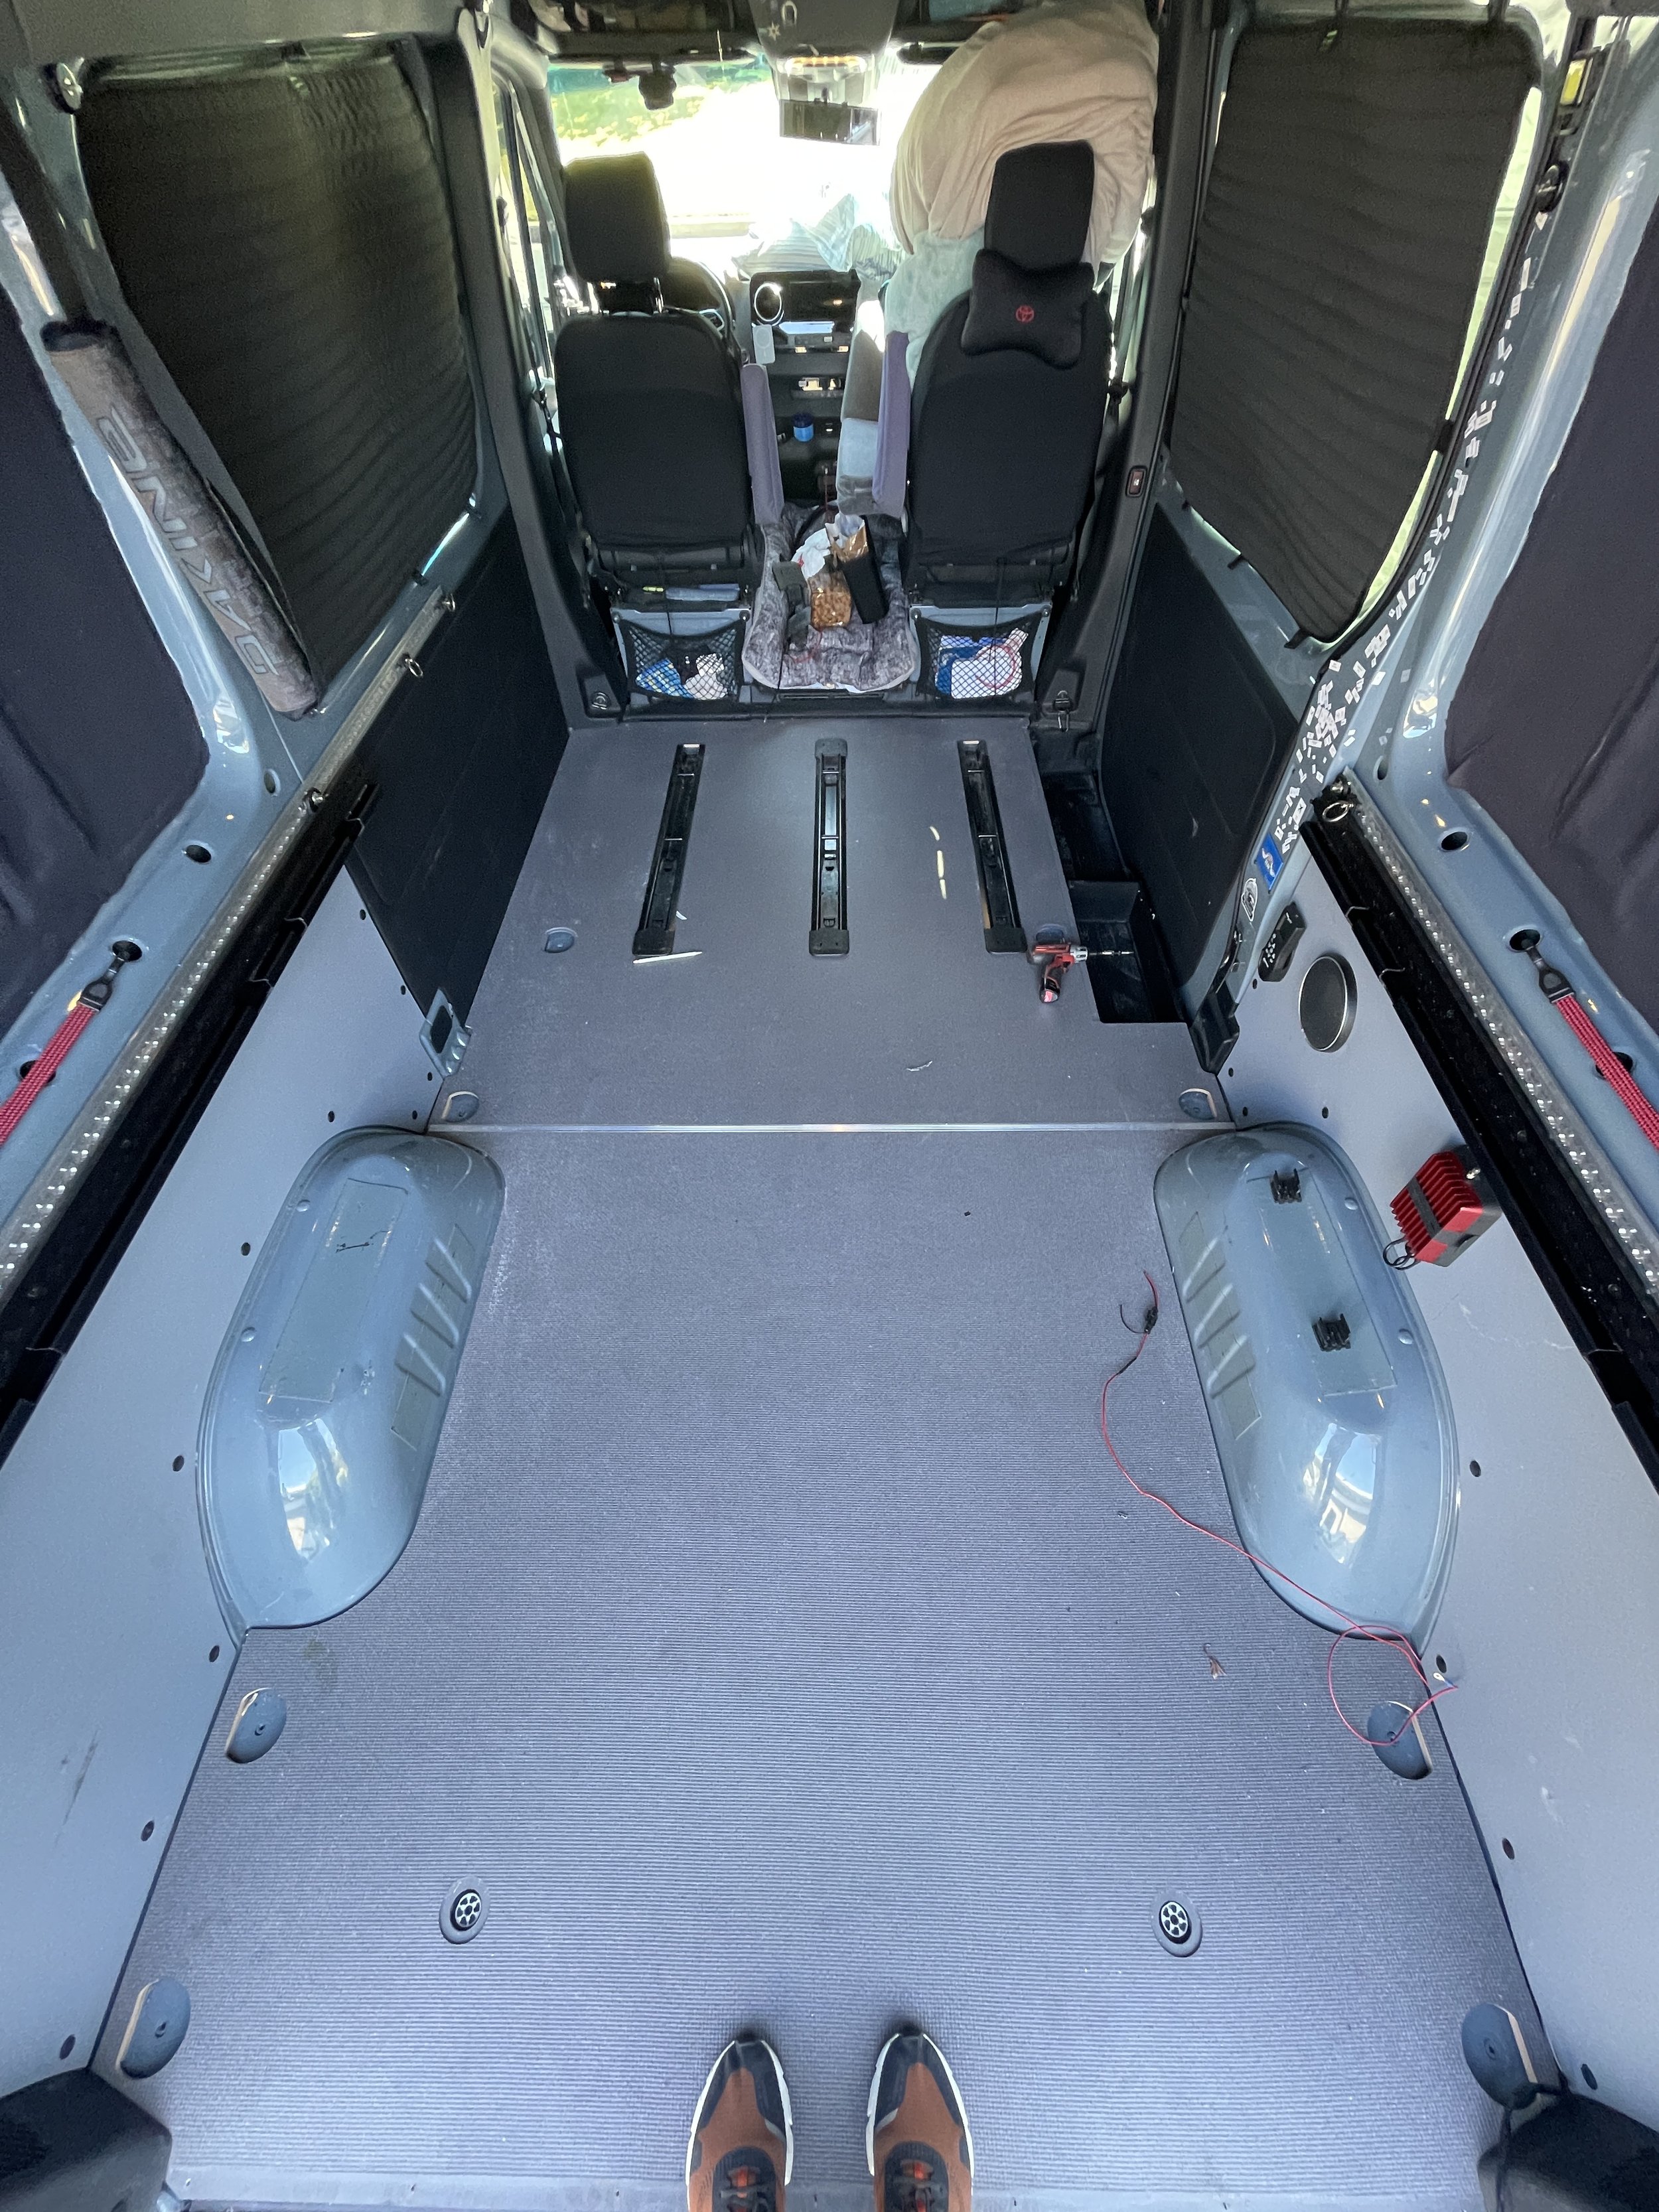
The stock configuration of the 144 crew with its three tracks placed just behind the front seats

We experiment with a whole set of tracks from a 3 row passenger 144 VS30 Sprinter. You can see all the tracks here. The double long tracks up front and the shorter passenger van specific tracks (yes, different from the crew short tracks) toward the rear.

You till need to remove the old tracks. Start by removing the plastic cosmetic end caps. Find something thin enough yet firm to slide down the slots to release the plastic clips. We found this small wrench worked perfectly.

All the threaded anchor points have access to the outside. We will look at sealing those up in another post. Many of these aren’t accessible due to the fuel tank being in the way. It’s good to at least put some grease on the outside when possible to avoid them rusting and seizing up in the future.

With the tracks out you can see the long and short bench rails side-by-side have similar mounting holes. These holes will be used to not only to leverage the existing mounting points with the previous tracks but will also give a guideline as to where you will drill the additional hole to access the factory welded and threaded anchors. Yes, you read that correctly, they are already welded into the chassis!!! This will make your job way easier… sort of. It seems that all vans, at least the crew and the passenger vans (not sure about the pure ‘Cargo’ configurations) have the same floor layout where the threaded anchor points are welded in place during assembly.

After you remove the subfloor place the New longer tracks in place of the original seat tracks. You will find that three of the holes lineup perfectly for the factory bolts to attach the tracks to the floor. There will be one hole that is at the rear of the track that will need to be drilled to access the threaded insert under the floor. Once you’ve installed the tracks make sure you use a straight edge (we used the old track) and a way to square up all the tracks to be in the same position. Create a pilot hole in the center where the new bolt will need to be located. Now remove all three tracks.

We always recommend using a step drill when drilling into your body or chassis. This ensures that the whole always stays centered and allows you to slowly increase the holes diameter as you go.

Stop partway through and ensure that you’re centered above the threaded mounting points that are hidden underneath the cargo floor. It’s like magic. These threaded factory mounts are all there just hidden away for you to tap into.

After you drilled all the access points for your new bench rails it’s time to focus on the factory floor. At this point you can choose to use your own flooring subfloor or retain the factory floor. Either way it’s good to use the factory floor as a template for not only cutting the outside shape but also for cutting where the seat rails will need to be accessible to reach the new mounting points. In this example we’re retaining the factory floor and simply elongating the existing holes to except the longer new seat rails. Take the existing subfloor and put it on a workbench where you will have not only access to your new layout but place where you can easily use something like a jigsaw to cut the new hole. Place the new seat rail in the existing holes and make sure that you have at least a quarter inch space on either end of the hole to where the rail will sit, this gap will later be filled by the plastic OEM vanity end caps. Keep those safety glasses on and make your cuts safely. You will need to cut little bump outs for the steel bar that protrudes out the side of the tracks. The bars that are used for the actual bench attachment points.

Now that you have everything cut go ahead and install your factory floor back into the van. Before tightening down everything use the cargo loops as well as the bench rails to ensure the floor is centered and won’t bind on any of these points. Once everything is aligned go ahead and tighten everything down. You can see now the three new longer rails fit perfectly and look like factory options.

Last but not least install all the plastic cosmetic trim pieces. There will be a few extras that you will need to purchase that or not part of the short rail set that came on the crew van. This picture shows how it should look at the end. The VS30 benches have wheels on the outer two bench legs, ensure the end caps with the wheel ramps are on those outer tracks.


