Installing waterproof electrical port on Sprinter roof
If you want to use your roof for anything that require either electricity to power something on the roof such as lights or a weBoost antenna then you’ll need to run wires up to the roof. If you want to solar panels, you’ll also need to a way to run wires down into the the cabin. Here’s a way we utilized the factory roof port on the rear of the roof of a 2020 VS30 2500 Sprinter 4x4 Crew Van. As the bodies are the same and the pretty much modular coming from the factory, you’ll find the same access to be relevant for LWB Sprinters as well as 3500 dually models as well.

We decided to use this two port housing commonly found on RVs. These are called Cable Glands and are waterproof as they cinch around the wire as you tighten the outer nut. They typically come in white or black. As our roof rack and wires are black we kept the theme gaining. If you have a white roof for less solar gain, having a white port will be less visible. But the difference between the two is purely aesthetic.
You can find these on Amazon for $10-$15.
Don’t forget your adhesive to bond it to the roof of your van and some waterproofing sealant to ensure no water makes it into the hole you will be cutting into the roof of your van.
Getting things ready

We always try and use factory ingress or mounting points when possible. We try and avoid drilling into flat unsupported areas of the body. Behind the painted facade of the body each vehicle will have structural support that you’ll either need to drill through or avoid. Using this round access point ensures that not only are you utilizing a factory designed ingress, but the supporting structure on the inside of the van is there to ensure your wiring can be routed in an effective manner as well as having less flex or deformation to the body when drilling. In the image, you will see actually two possible access points. We will use the large one forward the rear backup camera and not the smaller one right at the backup camera.
Before you begin to drill into your body, always position or prototype where you want to install any of your aftermarket items. Here you see how we place the box over the desired port and find that the flat base, which is designed to seal and be mounted to a flat surface, isn’t great for this centered position where the Sprinter Van has it’s structural supporting rib. These ribs are stamped into the roof sheetmetal to ensure the roof has structural rigidity and plays an important part in the ability of the roof to cary a load.


You’ll need a few things before you begin:
A good cordless drill. We have a trusty Dewalt 20V cordless for quick jobs.
A good hole saw bit. We found 1 ¼” (32mm) worked perfectly
A tube of Self-leveling RV Roof Lap Sealant to ensure you get everything waterproof
Don’t forget a caulking gun if you don’t have one.
And some touchup paint to go over the raw metal edges to prevent any rust from developing.
Wood mixing blade for a form buck.
Cutting your hole


We used a 1 ¼” or 32mm hole saw to cut our hole, centered on the metal plate sealing the original port. In the pics you’ll notice some yellow/orange stains on the paint. That is actually metal shaving from the day before that weren’t cleaned off completely already rusting!!! After you finish your cut, clean ALL the metal shavings and touch up the edges of the new hole where the bare metal is showing to prevent any rust or electrolysis from occurring in the metal.

Using Factory Ports
As you can see, using the factory port for running your electrical lines will ensure a clean, organized and well supported install.
Forming the plastic

Using heat like a heat gun or even heat from a burner you want to work the plastic and get it soft so it can be formed to fit over the Sprinter roof brace. Using a wooden putty blade as a buck you can begin deforming the plastic little by little to fit the contour of the roof. Be careful not to set the plastic on fire. This is dangerous and can cause burns. If you don’t feel comfortable doing this, a local plastics shop might do it for you.


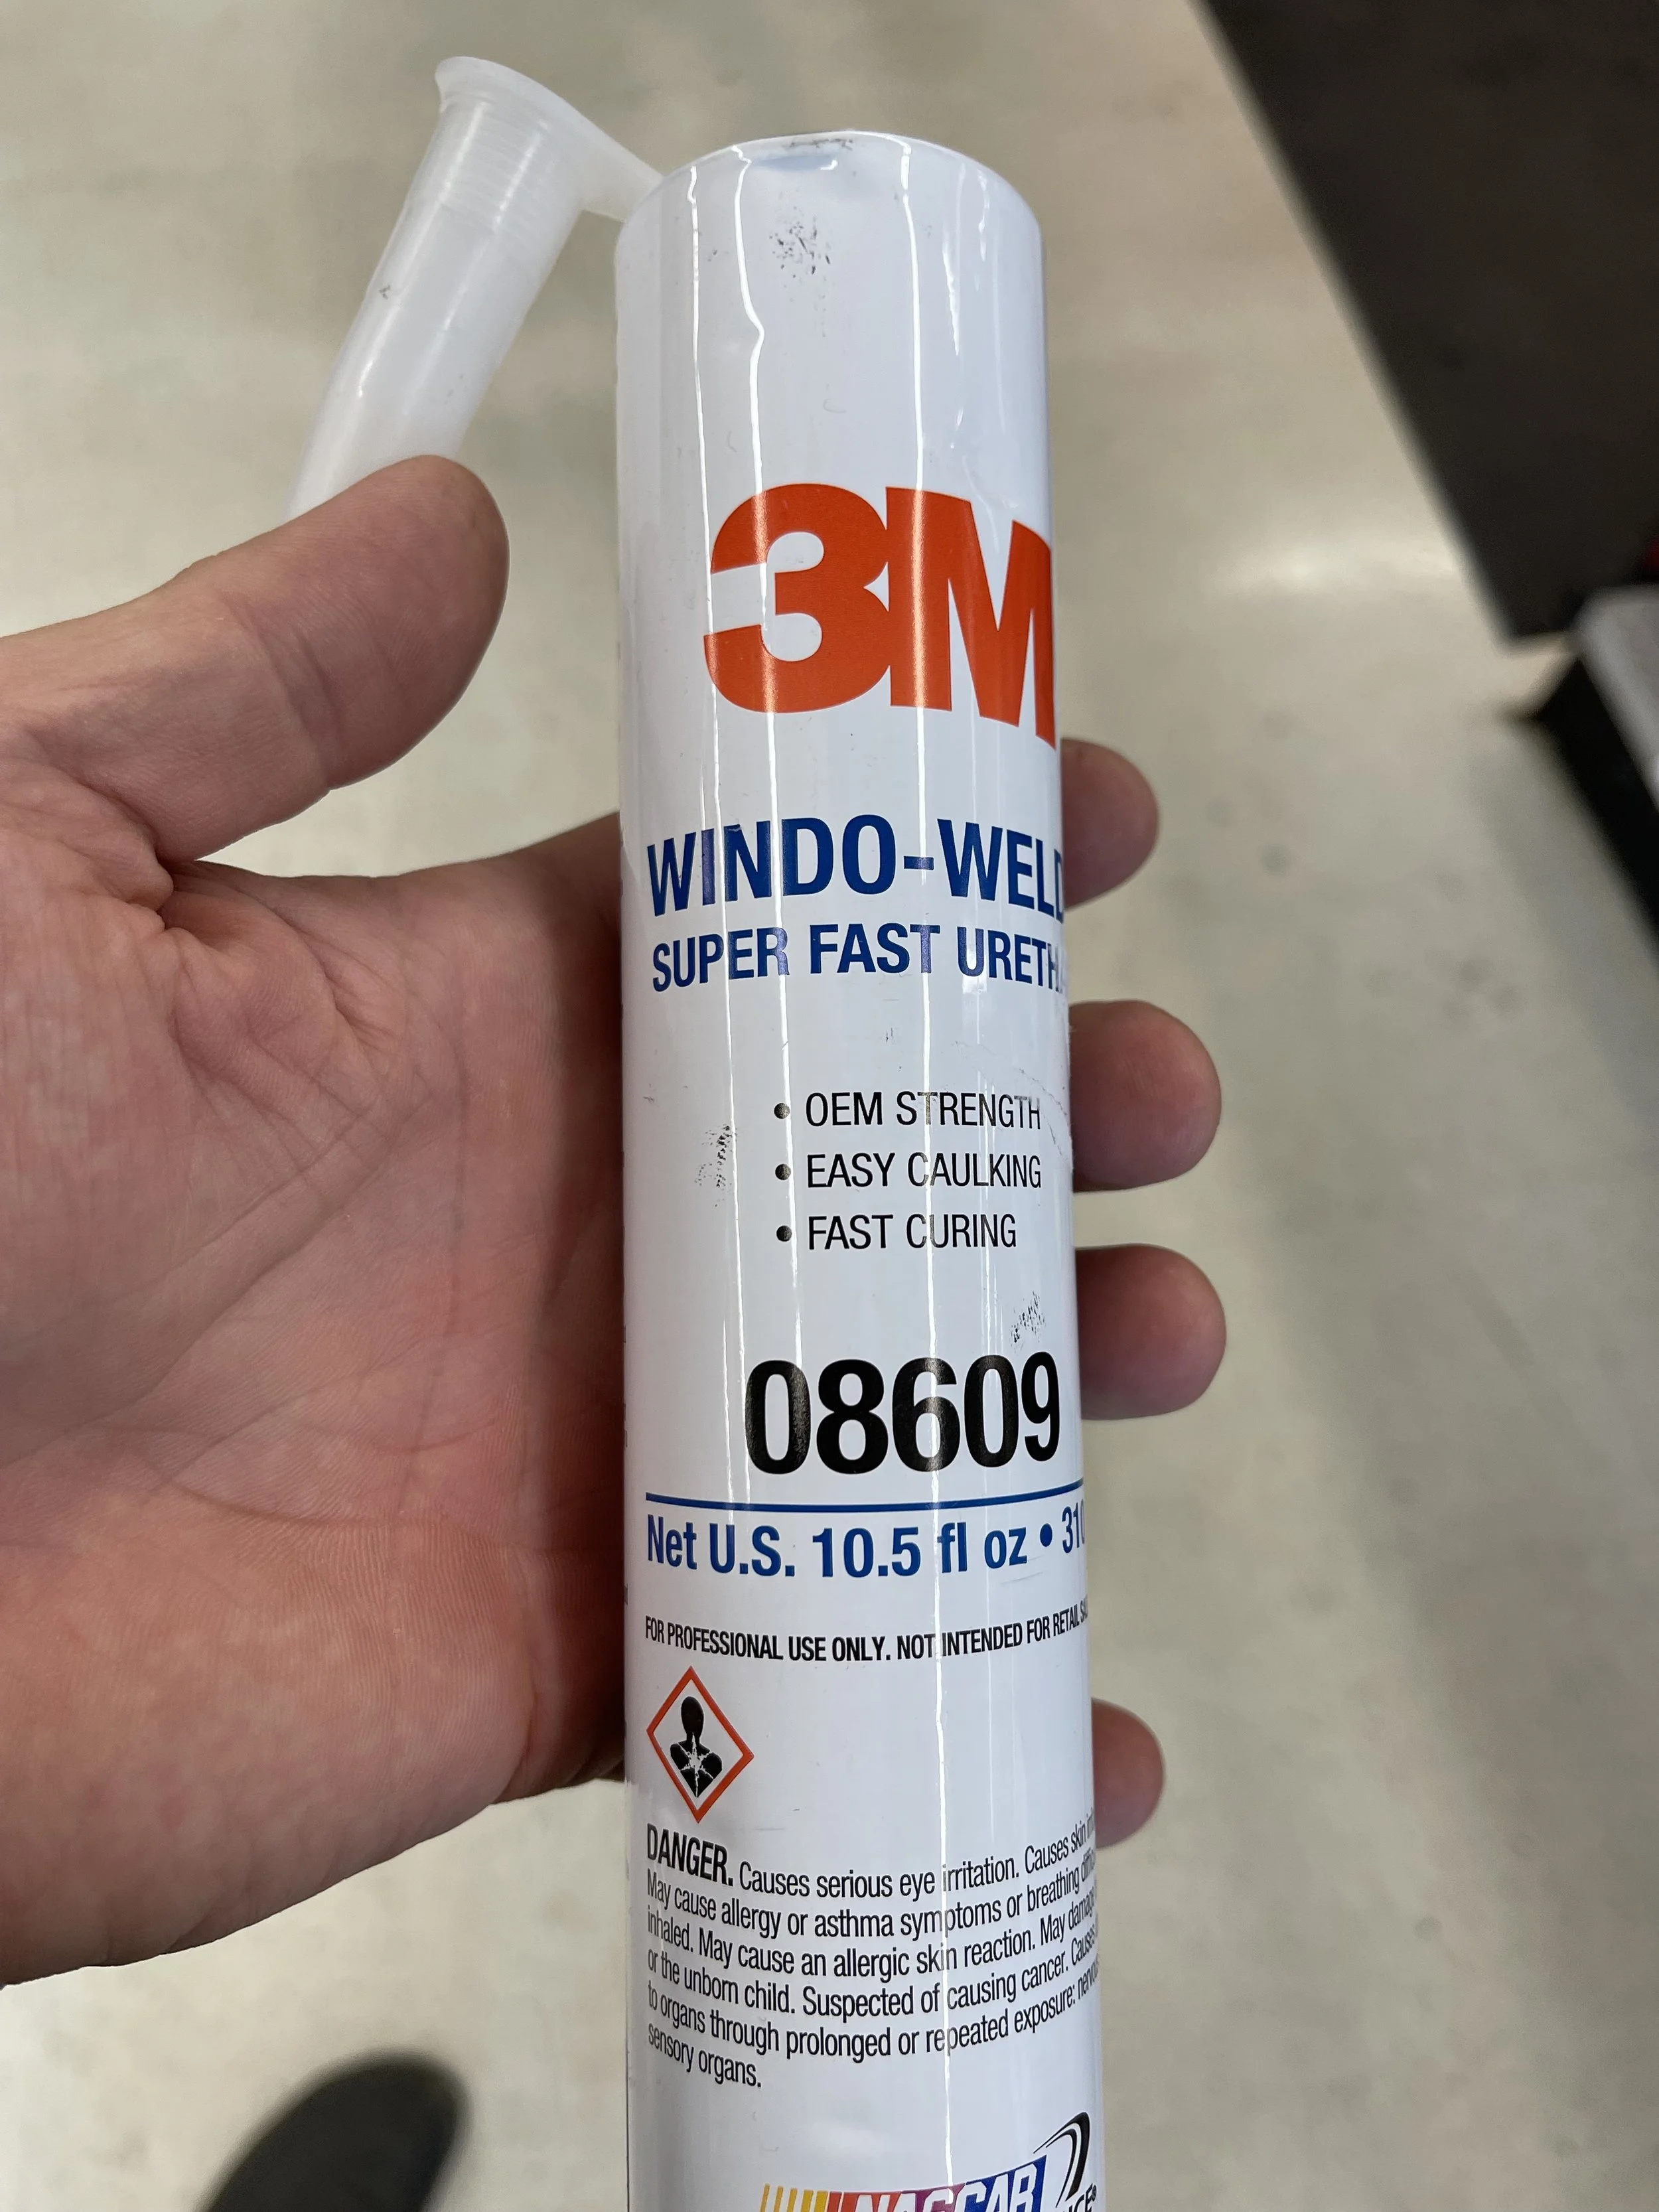
After a few sessions over heat, we got just the right bulge. We only needed this on one side as the other can be flat against the roof. Once in place over the hole that was cut in the roof you can attach using adhesive. We us the 3M Windo-Weld 08609 and then cover the edges using Lap Sealer.