Sprinter Van Bi-Xenon HID Headlight Fix

So you have one of those fancy options on your van where the headlights look just a bit different then the other vans out there. Both the 2007-2013 and 2014-2018 vans had this option. The headlights had a slightly different shape, but they were basically the same option and design. An HID (High Intensity Discharge) Bi-xenon bulb, igniter and housing. This was an option from Mercedes Benz and not only requires a ballast but also can’t be retrofit onto the vans that didn’t have this stock. Supposedly the can-bus expects the HID headlights and deals with it different. (we could be wrong on that one).
Another option that comes with the bi-xenon headlights is the headlight washer/sprayer arms that come out and work with your windshield washer when the headlights are turned on. (But we’ll get to that in a different post)
After about 10 years, your bi-xenon bulbs are might be getting to a failure point and could go out as our did on our 2013 NVC3 2500.
You might be lucky and the bulb could actually be burned out. After 10 years, the bulb likely will still be usable depending on the hours of night driving and miles you have covered. Also, a lot of dirt roads could shorten the life span. But changing the bulb might not be the solutions. So where should you start?
First, check the fuses.
Second, replace the bulb.
Lastly, it’s likely the ballast.
Fuses for the headlights are found here:
Replacing the bulbs is fairly easy
We used this bulb we found on Amazon to be either identical, or very close to the original.

D1S Original Xenarc 66144
OSRAM XENARC OEM
4300K D1S HID/XENON Headlight bulbs
(66144) by ALI - Made in Germany

Pull the bulb out from the headlight housing.
Just a simple turn and the bulb housing (silver box) will rotate together and allow you to pull the bulb out of the headlight housing. Just pull it straight back.

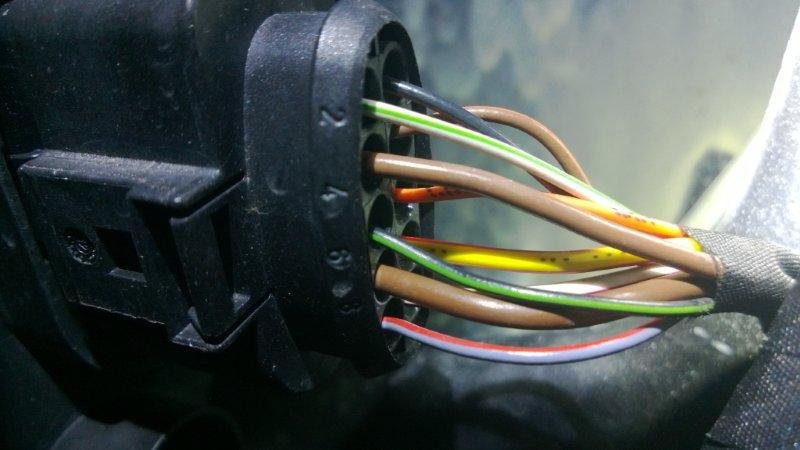
Disconnect the power cable
There’s a metal clip that can be expanded to unlock the male interface with the cable, from the female part (OSRAM) pictured here.
This is the OEM OSRAM Xenarc 66144 D1S 35W we pulled from our 2013 NVC3 Sprinter 2500. We believe it to be the OEM part that has never been replaced.

Release the retaining clip
Find the hinge (pictured at 1 o’clock)
Just opposite of the hinge you will find the clip to release the ring (pictured between 6-8 o’clock) This will release the ring. If you do it right you can reuse the ring on the new bulb.
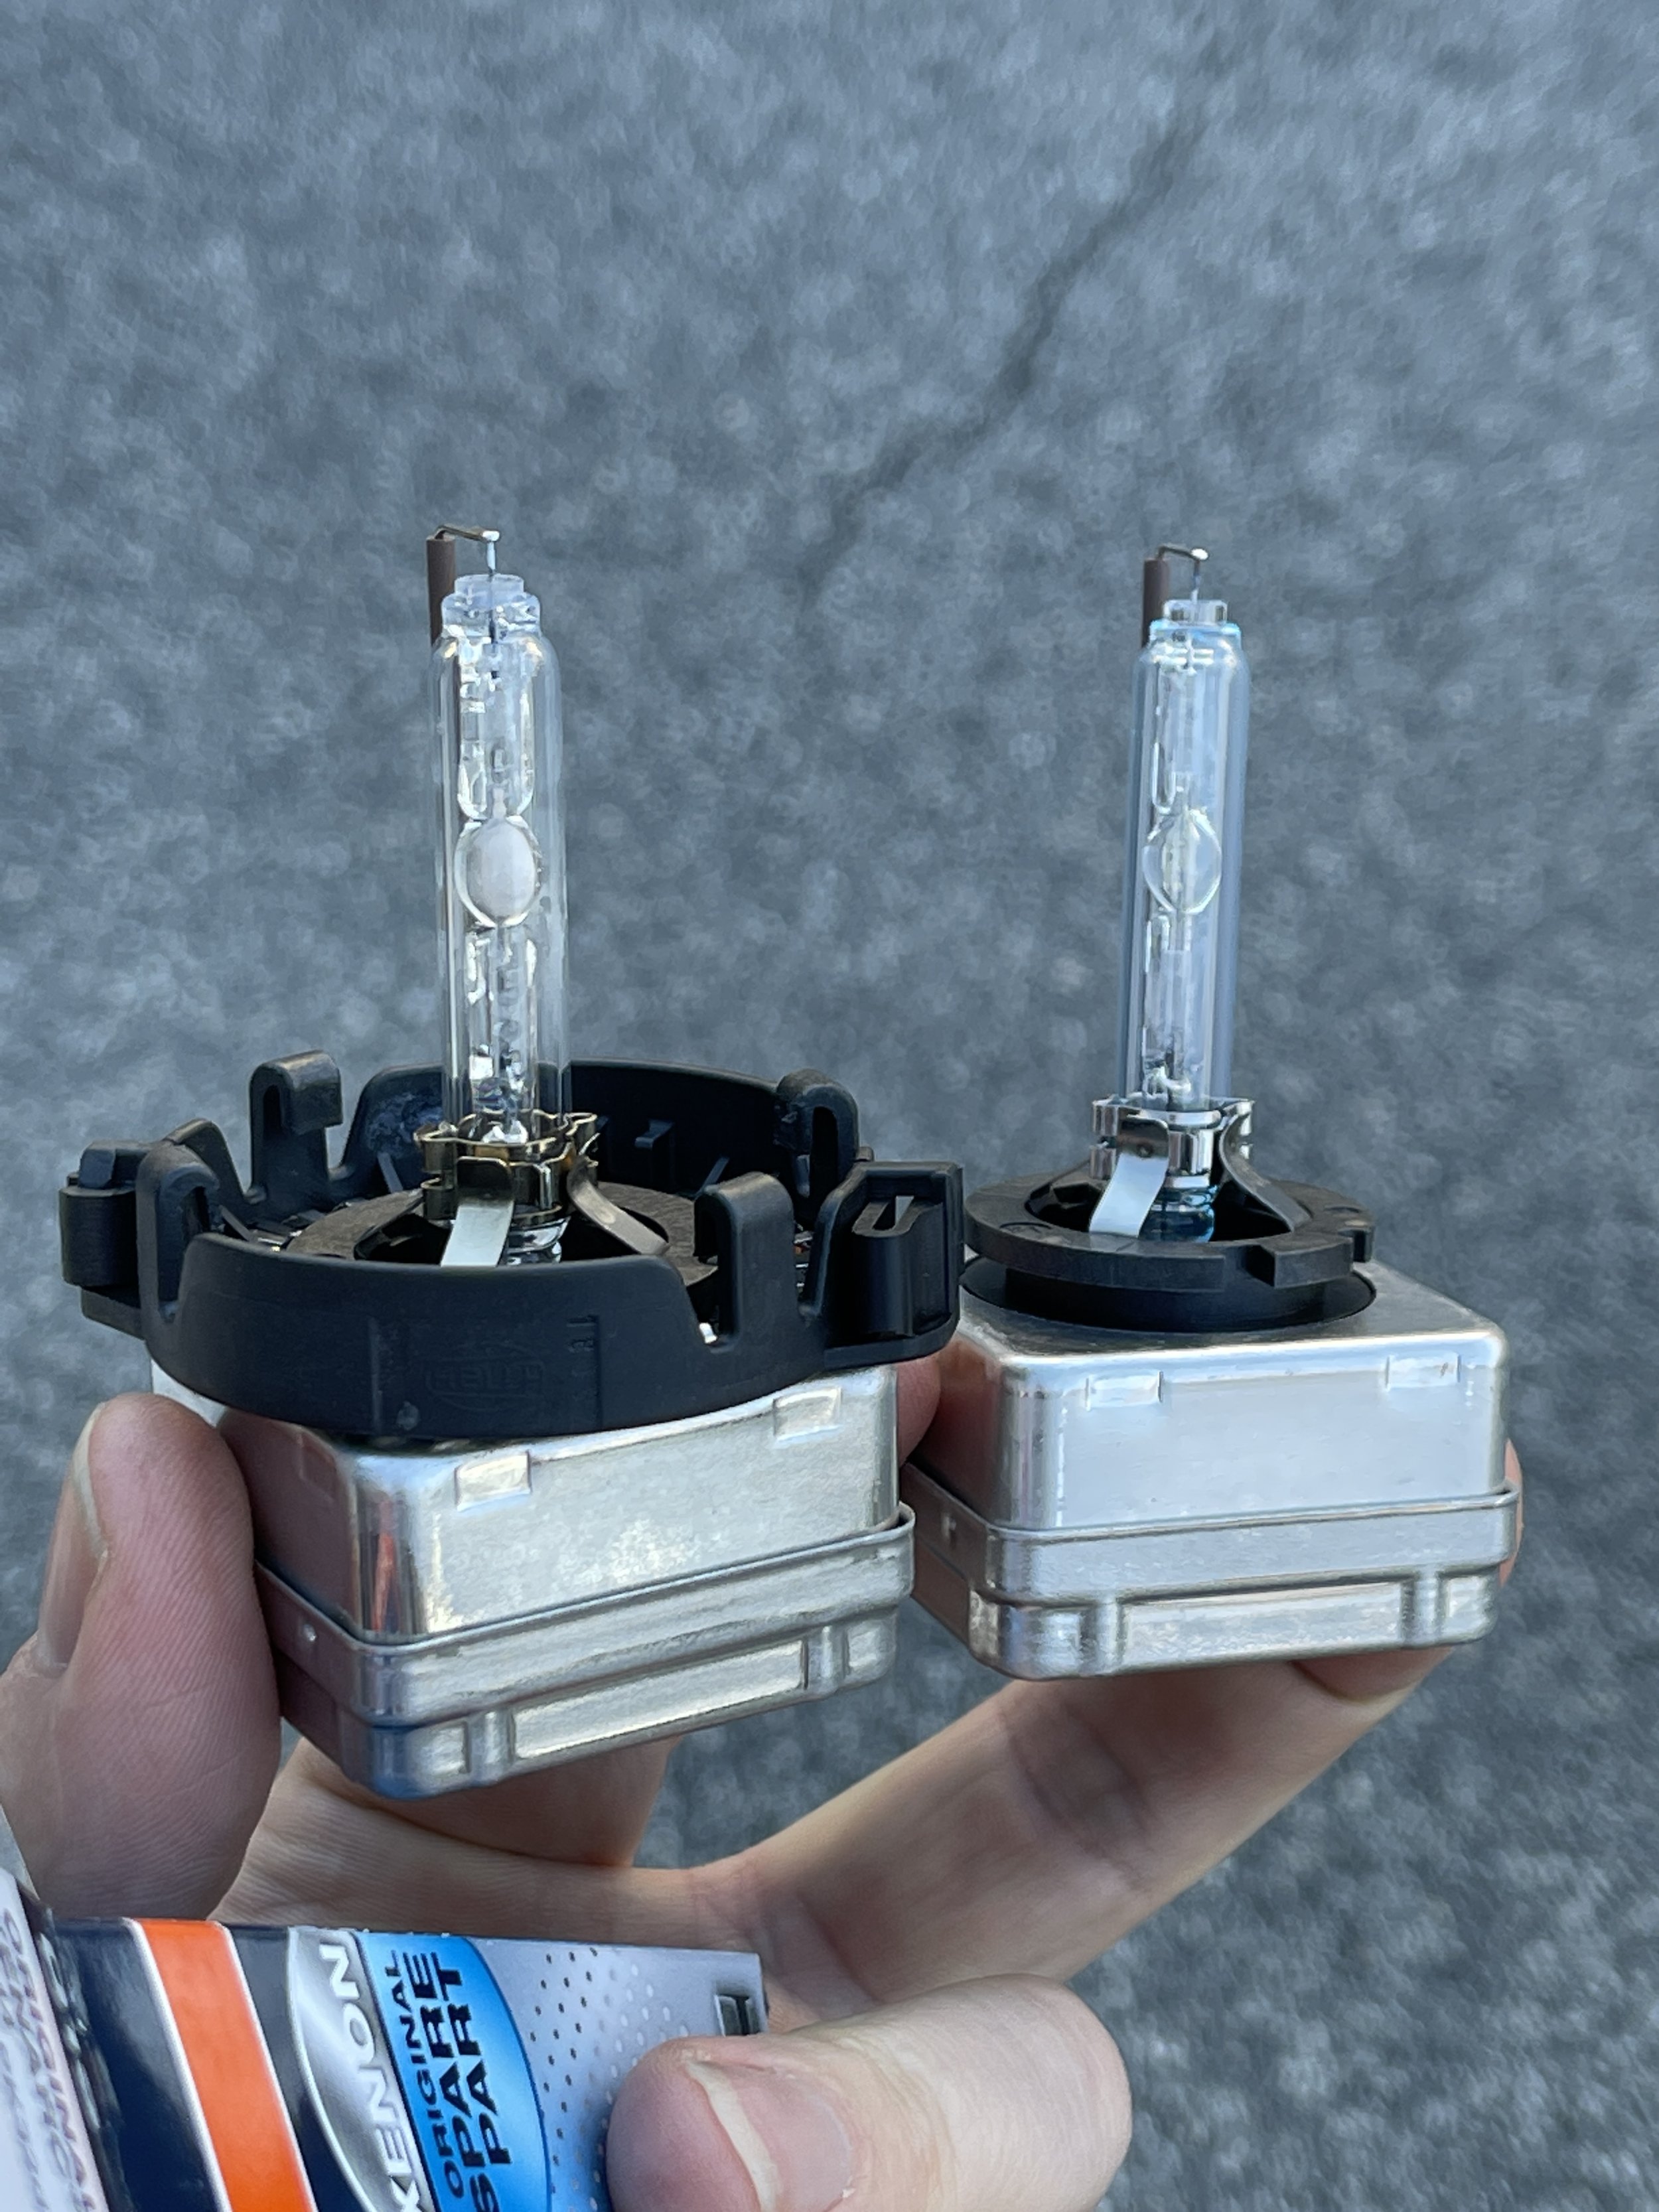
Old vs New
The original bulb on the left looks more yellow, and shows signs of oxidization.It might be still ok as it doesn’t look burned. The new on on the right looks to have a blue tint but is rated at 4300k for color temperature..

Reinstall retaining ring
When you install the ring back on the bulb, line up the indexing notches pictured at 4 o’clock seen on the black collar attached to the bulb. It’s the black ring pictured that’s closer to the center. This will ensure the housing is positioned correctly so the part where the wire goes into the bulb doesn’t collect any possible rain or splash water. Replacement rings can be found here.
⚠️ Note: we suggest using nitrile gloves to avoid the new bulb getting any oil from your fingers on the bulb.
Carefully replace the bulb
This is where you want to be careful not to allow the new bulb to touch any part of the metal headlight housing. Try not to let it touch anything actually.
Here’s the 2 pack we bought. These are rated at 4300k and should cast a clear white light.
Note: The higher the Kelvin, the less efficient the bulb actually is as it strays from the yellow light spectrum. Ideally—in terms of safety and visibility—you want an HID bulb whose temperature is somewhere between 4300 and 6000 Kelvin. This range gives you the best “sunlight” look at night, making low-light driving safe.


The Ballast
After replacing the bulb, we found that it didn’t fix our problem. Did we buy a set of bulbs for nothing? Probably.
We found at the same time our left bulb went out that we had condensation in our housing. This had never happened before, but then again we never had as crazy of rains as we did recently from all the crazy rains we had in Northern California. The coast was hit by these Bomb Cyclones. It really was a wet winter.
We found that from the rains, the moisture would pour down over the top of the housing from the rain coming off the hood of the car. To dry it out, it’s really simple. Just open the plastic backing cover and let it air out. We found that we had 10-20mm of water in the bottom of the housing and had to soak it up with a paper towel before it could dry up the rest of the moisture.
We did the steps above, checked all the fuses, bout replacement bulbs and installed them only to find out they didn’t fix our issue.
At this point we were a bit stumped. But we found that the HID light found on Sprinter Vans have a ballast that sits under the headlight housing. What ended up happening was that the moisture that was in the headlight housing obviously collected at the bottom of the housing. Well, the wiring from the bulb leads down to the bottom of the housing on the inside. What happened is that the moisture that pooled in the area submerged the cable coming out of the bulb. From there, the water would then leak down on to the ballast pins and when the lights were turned on next it fried the ballast.
First fix was to resealing the lenses. You can use silicone so it’s flexible But this likely won’t completely ever ‘fix’ the issue.
After the housing is completely dry, it’s good to fill the ballast pin gasket area with dielectric grease. But to ensure it doesn’t happen again, you’ll likely need to drill some decent ventilation holes in the lamp housing itself. This will allow for drainage and evaporation. Just don’t go forging rivers as you’ll fill the lenses from these weep holes.
Usually I’d just replace the part but the factory xenons are very pricey.